
If the images you upload to your website are too large, they’ll make your website pages load slowly. We don’t have a lot of patience these days, so a slow-loading image can make someone ditch your website. Or maybe they scroll past the loading image to keep reading, then the image loads and it bumps their place on your page — frustrating.
To avoid this, make sure all images you upload to your website are the right size for your page to be “optimized.” This is especially important on pages with a lot of images. If you have website visitors who are browsing on their phone or don’t have fast internet speeds, too-large images will cause issues for them too.
Here’s how to optimize your images to smaller file sizes that still look great on your website.
1. Consider the size of the image in your website design.
If you’re looking for an image to be a full-width background image for a section (like the hero/top section of a page), you’ll need a larger-width image. I typically do 1920px wide.
For images used side by side with text, or as smaller accents on a page, you can go less wide — I usually do 800-1000px wide for these.
2. Make sure you have a high resolution version of the image to start with.
As long as the photo/image looks good to your eyes on your computer, it’s probably big enough, so the goal is getting a smaller file size.
If you have images from a professional photographer, they may provide web versions of your images. If the web version looks good to your eye and is under 400-500kb, you can upload it directly without any further optimizing. If they provided high resolution images that are 1-2mb or larger, you’ll definitely need to resize them.
If you’re downloading an image from a stock photo site like Unsplash, the Medium 1920×1282 size is perfect. Often I’ll download the Medium version and find that it’s a small enough file that I can go ahead and upload it.

If you only have a smaller image file size (like 600px wide), it may still be usable as an interior photo rather than a hero or background image. Sometimes using an overlay color or a blur makes a small or pixelated image workable as a background image. When in doubt, try it out, and you’ll be able to see if it looks bad. If it looks blurry or pixelated, definitely choose a different image or get a higher-resolution version.
3. Resize and optimize/compress the image.
You’ll ultimately need an image file size under 500kb, ideally under 400kb, in JPEG format. The smaller, the better. WordPress lets you upload WebP images, which work for most browsers but not all quite yet, so I still prefer JPEG for now. Squarespace doesn’t allow WebP uploads yet.
Some people prefer to do the resizing and optimizing/compressing of images in Photoshop or Lightroom.
When I’m uploading images one by one, I prefer this method:
- Open the image in the Preview app on my Mac
- Resize the image to 1920px wide for hero images or 800-1000px wide for non-full-width images
- Save the image
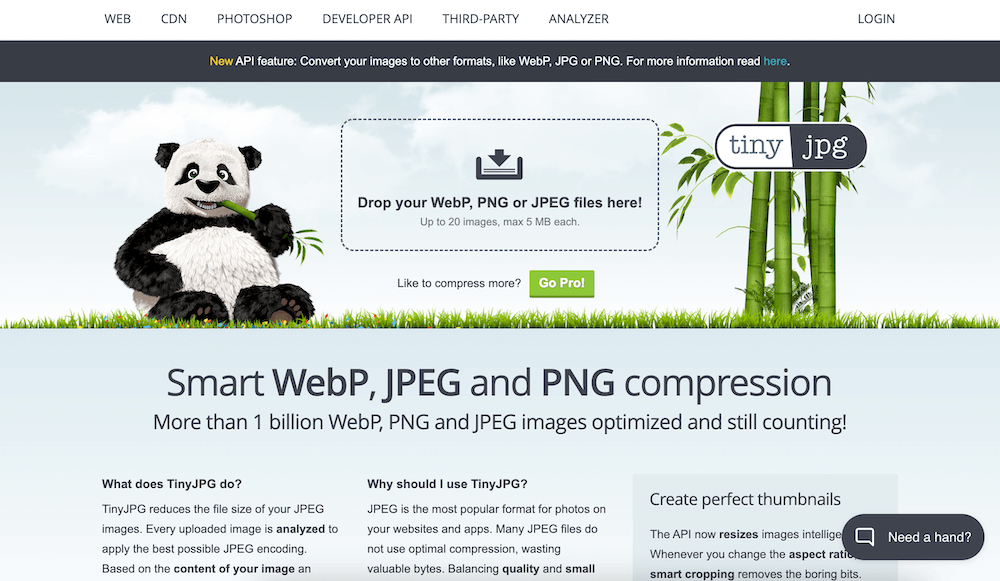
- Upload the image to TinyJPG — this tool automatically compresses your images as it sees fit
- Download the optimized version, usually a 150-350kb file
If using TinyJPG didn’t give me a file size/visual appearance that looked good, I’ll use Squoosh instead.
Once you have your optimized image, you can upload it to your website. If the image isn’t used as a background, don’t forget to set alt text for it!